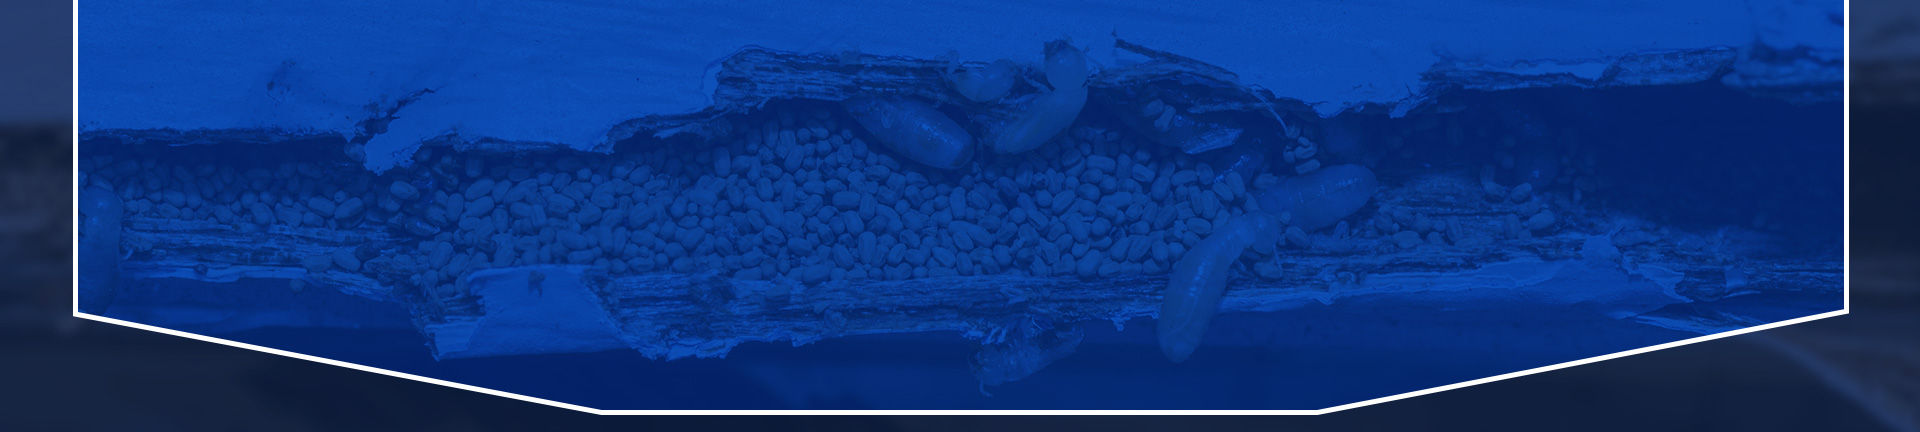
Getting a fumigation recommendation from your termite inspector is one of those moments that lands harder than expected. You knew there was a termite problem. You didn’t expect to hear that your house needs to be tented and vacated for two or three days. Before the logistics start piling up in your head, here’s what actually helps: fumigation preparation is a checklist, and checklists have a finish line.
Since 1993, we’ve been coordinating termite inspections for Los Angeles homeowners and connecting them with the fumigation process when whole-structure treatment turns out to be the right call. Most of the anxiety we see at this stage comes from not knowing which tasks belong to the homeowner and which belong to the fumigation crew. This guide maps the preparation timeline day by day so you know exactly when each task needs to happen and why it matters.
Why Preparation Makes or Breaks the Treatment
Whole-structure fumigation works by sealing the entire building under a tarpaulin tent and saturating every wall cavity, attic void, and crawl space with sulfuryl fluoride, commonly sold under the brand name Vikane. That gas penetrates wood where drywood termites live and feed, reaching colonies that localized spot treatments can’t access. It targets them at every life stage, including eggs. The treatment only works, though, if the tent seals cleanly and the fumigant can circulate freely through every part of the structure.
In Los Angeles County, structural fumigations are regulated by the LA County Agricultural Commissioner/Weights and Measures (ACWM). Fumigators must submit a Notice of Intent through the ACWM before work begins, and they can’t certify your home safe for re-entry until fumigant concentrations drop to 1 part per million or less throughout the structure. Incomplete preparation on the homeowner’s side (a locked room, vegetation pressing against the siding, a vehicle left in the garage) can delay that certification and extend your time out of the house.
The Day Before: What to Do 24 Hours Out
The bulk of homeowner preparation happens the day before the fumigation crew arrives. Give yourself a full afternoon for this.
Start outside. Trim all vegetation, shrubs, and tree branches to at least 18 inches from every wall. The fumigation tent needs to seal tightly against the ground, and plants pressing against the structure prevent a clean seal. After trimming, water the soil around the perimeter. Moisture in the ground helps the tarp anchor and protects nearby plants from fumigant exposure during the process.
Inside, your focus is food, medications, and anything else you ingest. Everything not in a factory-sealed, airtight container needs to be double-bagged in Nylofume bags. These are low-permeability polyethylene bags designed specifically for fumigation. This includes open pantry items, vitamins, pet food, tobacco products, and any medications not in a factory-sealed bottle. Unopened canned goods and factory-sealed glass jars are generally fine to leave without bagging, but confirm this with your fumigation provider. Your fumigation company will supply the Nylofume bags.
Arrange accommodations for everyone in the household, including pets, for a minimum of two nights. If you have a fish tank, address that separately with your fumigation provider before the day-before prep begins. Requirements for sealing and turning off pumps can vary.
Morning of Fumigation: Access, Utilities, & Final Walkthrough
The fumigation crew will arrive to tent the structure on the scheduled morning. Before they start, a few things need to be in place.
Open Everything Inside
Every interior door, cabinet door, closet door, and drawer should be open so the gas circulates without obstruction. This includes attic hatches and crawl space access panels. Any locked or inaccessible room can cause the fumigation to be postponed, because the fumigant must reach every part of the structure to be effective and certifiable.
Clear All Vehicles
California law requires complete access to any vehicle inside a structure being fumigated. Remove every car, motorcycle, and stored vehicle from garages and carports before the crew arrives.
Coordinate Gas & Electricity
SoCalGas serves the majority of Los Angeles County and must shut off gas service before the tent goes up. Contact SoCalGas to schedule the shutoff in advance. Electricity stays on during the fumigation to power ventilation fans during the aeration phase when the tent comes down. Gas restoration is the homeowner’s responsibility, so schedule a restoration appointment for the day the tent is expected to come down. Otherwise you’re waiting an extra day for your gas appliances to work.
Items That Require Special Attention
A few categories come up repeatedly in fumigation preparation and deserve their own mention.
Mattresses & Pillows with Sealed Covers
Baby mattresses and any mattress or pillow fully encased in a permanent waterproof or vinyl cover must be removed from the home before fumigation. Sealed covers trap sulfuryl fluoride inside the mattress material, preventing full aeration. If your mattress cover is detachable, removing just the cover may be acceptable. Ask your fumigation provider to confirm before the day of treatment.
Burglar Alarm & Security Notifications
Notify your alarm monitoring company that the property will be vacant and that the fumigation crew will be applying secondary locks to all exterior doors. It’s also worth notifying your local LAPD precinct that the property will be tented and unoccupied for a defined period.
Outdoor Plants in Containers
Potted plants near the structure need to be moved at least 10 feet away. Plants in the ground are protected by the perimeter watering you did the day before, but anything in a container close to the tent can be affected during the sealing and aeration process.
Returning Home: What to Expect After Clearance
Re-entry is legal only after a California Structural Pest Control Board Branch 1-licensed fumigator certifies that fumigant concentrations have reached 1 ppm or less throughout the structure and posts the required re-entry notice on the property. Don’t return before that notice is posted.
One of the most persistent misconceptions about post-fumigation re-entry is that you need to wash everything. You don’t. Dishes, clothing, bedding, and countertops don’t need to be washed or wiped down after sulfuryl fluoride fumigation. Because sulfuryl fluoride is a gas, it aerates out of the structure and leaves no surface residue under normal conditions. You can put your food back in the pantry, sleep in your bed, and use your kitchen without any post-treatment cleaning step.
Look for the fumigation tag, which the crew places near the attic entrance or in the garage. This tag records the date of treatment and serves as a useful reference document for future termite inspections. Leave it where it is.
Starting with the Right Diagnosis
Fumigation is one of the most effective tools for addressing drywood termite infestations in Los Angeles, but it isn’t the right treatment for every situation. Localized infestations may be addressed with spot treatments, and subterranean termite activity requires a completely different approach. The inspection isn’t just paperwork before fumigation. It’s what determines whether fumigation is the appropriate response in the first place.
We’ve been guiding Los Angeles homeowners through that process since 1993, connecting inspection findings to the right treatment path and coordinating with trusted fumigation partners when whole-structure treatment is the answer. If you’re at that stage now, Top Termite Co. Inc. is glad to help you understand what the inspection found and what comes next. Reach us at (805) 228-4845.